October 28, 2026
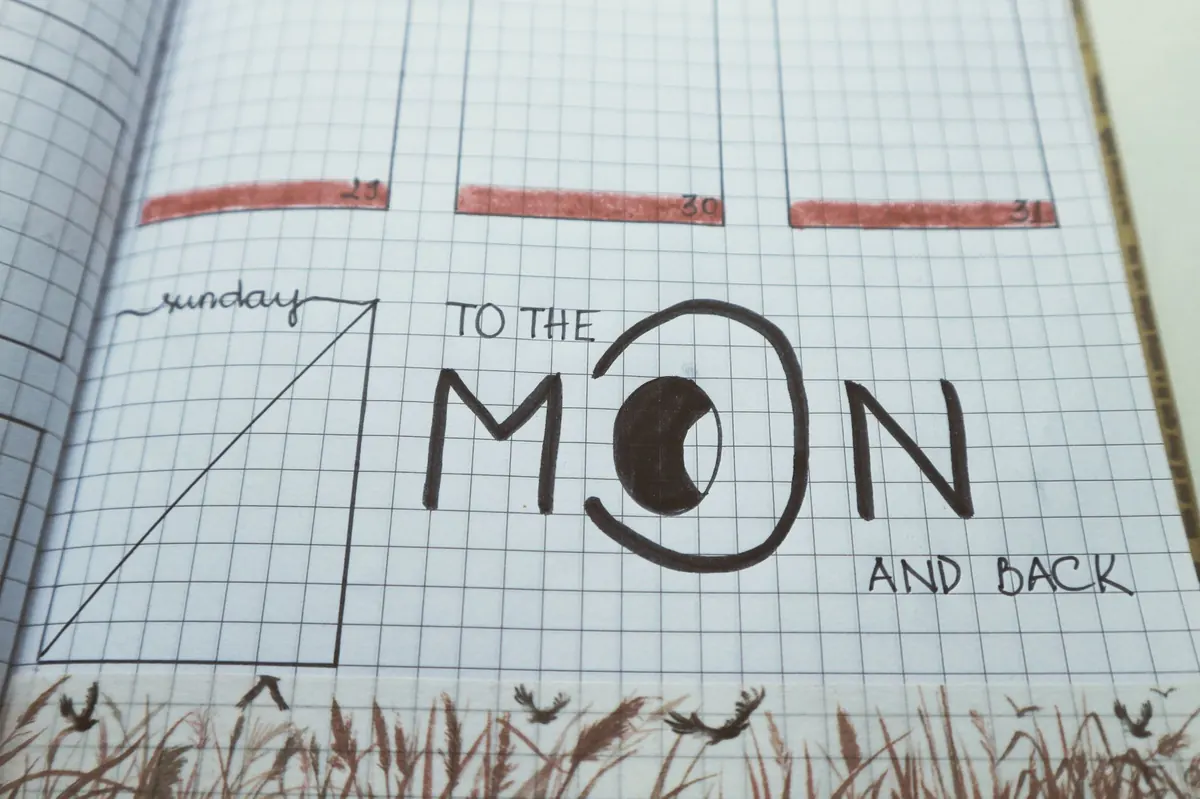
The first time you point even a small telescope at the moon, something inconvenient happens: you see too much. Craters stack on craters, shadows shift while you watch, and by the next night the whole face looks rearranged. A fortnight later you cannot remember which crater had that bright rim, or whether the dark patch near the limb was there the week before. A moon journal fixes that. It is not a diary, and it does not need to be beautiful. It is a working record — a few lines and a rough sketch that let you compare one night with the next, and one month with the next.
Why the Moon Rewards a Written Record
The moon runs a full cycle of phases in roughly 29 and a half days, and its appearance changes every single night of that cycle. The terminator — the line between sunlight and shadow — sweeps across the surface at something like twelve degrees a day, which means a crater you sketch tonight will look like a different object in 48 hours. Under a low sun, walls throw long shadows and floors disappear into black. Under a high sun, the same crater flattens into a pale ring.
That is the whole argument for writing things down. Your eye is good at noticing; it is terrible at remembering. A sketch made at the eyepiece, with the time and the date beside it, converts a pleasant evening into data you can use. After a few weeks you will catch yourself recognising features without checking the map. That recognition is the real payoff, and it comes faster with a notebook than with any app.
The Kit: Less Than You Think
Beginners tend to over-buy. Start with what fits in a coat pocket:
- A bound notebook, A5 or slightly larger, with plain pages. Ring binders lose pages in the dark; hardbacks survive dew.
- Two pencils — an HB for outlines and a soft 2B for shadow. A pencil works in cold weather when a pen does not.
- A circle template or a small coin to trace the lunar disc. A 60–80 mm circle is about right.
- A red torch, or red film over a white one. It preserves your dark adaptation and keeps the page readable.
- A printed moon map, ideally one that labels craters and maria. Free versions are widely available; you only need one good one.
- Optional: binoculars, a phone for a quick backup photo through the eyepiece, and something warm to drink.
If you are using a telescope with a star diagonal, remember that the view is mirror-reversed. Write that on the page. A sketch without an orientation note is almost useless three months later.
Build a Log Page You Will Actually Fill In
The most common failure is an elaborate template that takes twenty minutes to complete. Keep it to seven fields, and write them in the same order every session so your hand learns the routine:
- Date and local time, start and finish. Note time zone once at the front of the book.
- Days since new moon — the single most useful number in the whole log.
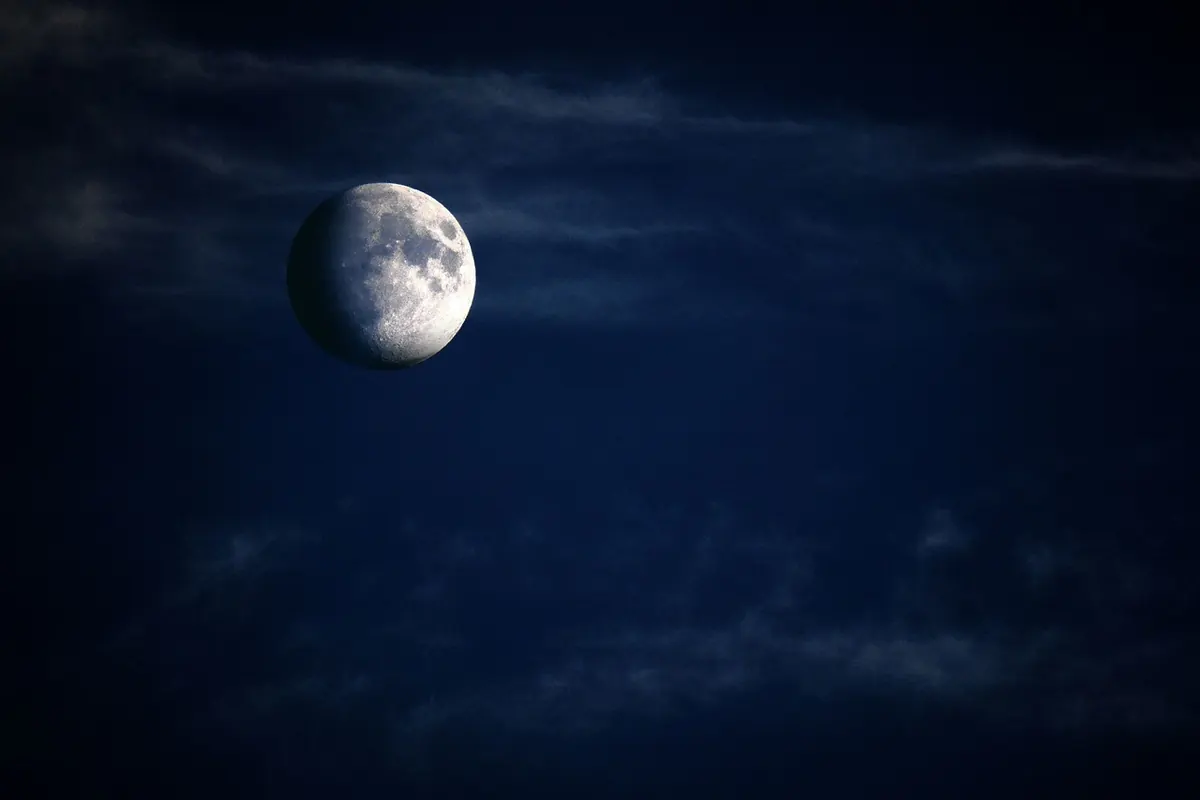
- Phase name and rough illumination: crescent, quarter, gibbous. "About a third lit" is fine.
- Which limb is illuminated — waxing or waning, and where the moon sits in the sky.
- Instrument and magnification, or "naked eye" / "10x50 binoculars".
- Conditions: cloud, haze, wind, and whether the image was steady or boiling.
- Sketch and notes: what stood out, what surprised you, what you want to check next time.
Fill it in at the eyepiece. Notes written from memory an hour later lose exactly the details that make a log worth keeping.
Recording the Phase Without Fuss
Before you set up any equipment, step outside and look. Draw the crescent or gibbous shape freehand in your circle — two minutes, no telescope — and mark which side is lit. Then note where the moon is: low in the west after sunset, high in the south, rising late in the east. Over a month, those position notes turn into a picture of the moon's path through the sky, and you will start predicting where to find it without thinking.
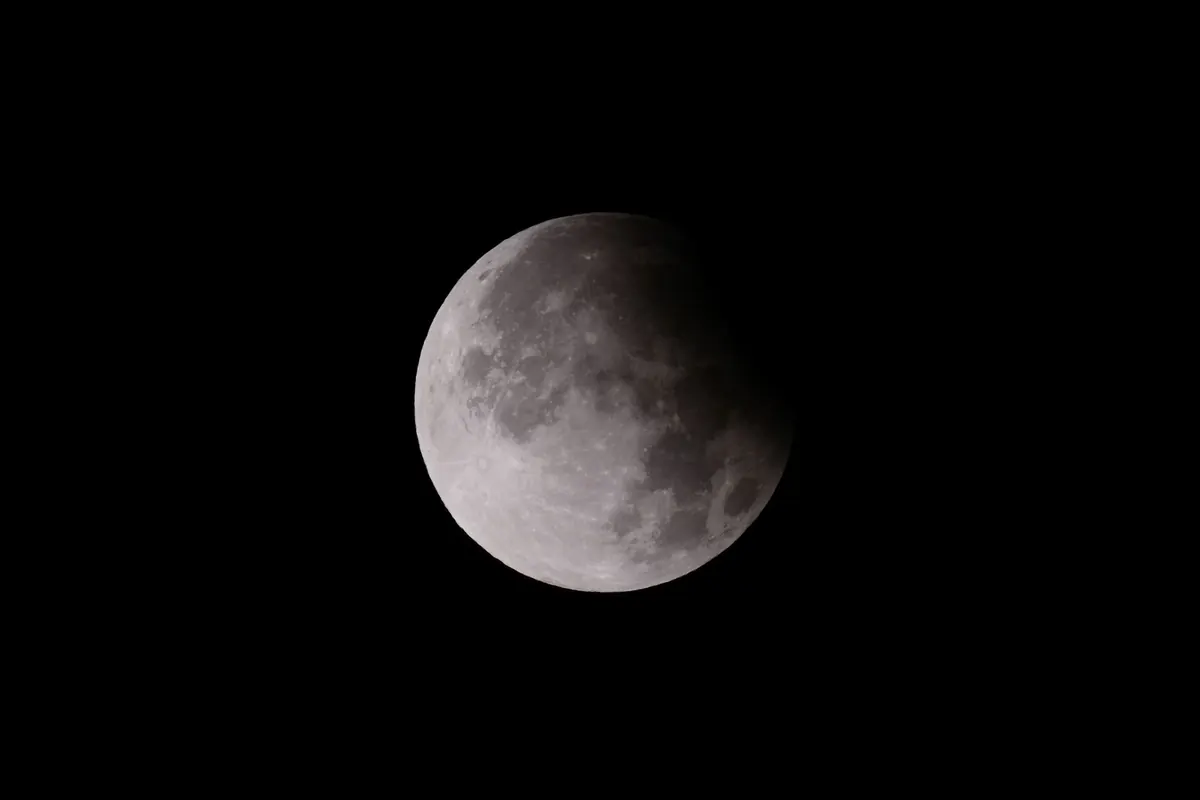
Two details are worth chasing. First, earthshine: for a few days either side of new moon, the unlit part of the disc glows faintly grey, lit by sunlight reflected off Earth. Second, the timing of moonrise. Note it a few times a week and the pattern — roughly fifty minutes later each day — becomes obvious in your own handwriting rather than in a book.
Sketching Craters: Draw the Terminator First
You do not need to be an artist. You need a method that puts things in the right place. Try this sequence:
- Trace your circle and mark north, south, east and west as they appear in the eyepiece. Note "mirror-reversed" if it applies.
- Draw the terminator as a single curved line, then shade the dark side lightly. Do not black it out; you may still see faint detail.
- Place three to five features only — a big crater, a mare edge, a bright ray — by their position relative to the limb and the terminator. Estimate in fractions: "one third in from the left, halfway down".
- Add shadows as dark shapes stretching away from the terminator. Long shadows mean a low sun and a young lunar day; short shadows mean the sun is high.
- Label features with small leader lines drawn out into the margin, so the labels never cover the drawing.
- Write the time at the start and the end. If you observe for more than an hour, add a second faint terminator line and date it.
Set a fifteen-minute limit per sketch. Detail is not the goal; accuracy of position and shadow direction is. A crude drawing with the terminator in the right place beats a delicate one with the terminator guessed.
A note on when to look
Craters are at their most dramatic within a day or two of the terminator. Avoid the full moon for crater work — the light is flat and flooded, and everything washes out. Save full moon nights for ray systems, which are faint at other times, and for tracing the edges of the maria.
Five Landmarks to Learn First
Pick a handful of features and return to them every cycle. Familiarity, not quantity, is what builds skill.
- Plato — a small, dark-floored crater in the north of Mare Imbrium. Easy to find, and its lava-flat floor catches light beautifully at low sun.
- Copernicus — a large crater with terraced inner walls and a cluster of central peaks. One of the best tests of how steady your sky is.
- Tycho — bright, in the southern highlands, and the source of a huge ray system that only shows properly near full moon.
- Clavius — a big walled plain near the southern limb, studded with smaller craters on its floor. A good example of how a feature looks different each night.
- Aristarchus — the brightest patch on the moon, in the Oceanus Procellarum. Compare its brightness from night to night and you will learn how much of what you see depends on the sun angle.
If you observe near first quarter, watch for the so-called Lunar X, a letter-shaped pattern of light that appears for a few hours as the terminator crosses the region near Blanchinus and Purbach. It is a genuine test of timing, and a satisfying thing to have in your own book.
What to Compare Month to Month
Once you have three or four weeks of pages, the log starts working for you. Lay two sketches of the same crater side by side and ask what changed: shadow length, position of the terminator, sharpness of the rim. Look for libration — the slight rocking of the moon that brings features near the limb into and out of view — by checking the same limb a month apart. Note how many days after new moon a particular crater first appears in your log; next month, try to catch it a night earlier.
A short review at the end of each month, ten minutes with a pencil, is worth more than any amount of reading. Mark the three best sessions. Write one line on what you want to improve.
Start Tonight, Judge It in a Month
You do not need a clear sky, a big telescope or a free evening. Ten minutes with a notebook, a sharp pencil and the moon in the right place is enough, and doing it eight or ten times across one lunar cycle will teach you more than a dozen articles like this one. Keep the log next to the door so it is easier to take out than to leave behind. Date every page, even the bad ones. The bad ones are useful too — they tell you what the sky was doing when the good nights arrived, and they are proof that you kept looking.
Photo: Bich Tran / Pexels